
-

Resilience Is Knowing Which Season You’re In
Many people expect restoration-level results while living in survival-level circumstances. In this post, we’ll explore the difference between Survival Mode and Restoration Mode, why each requires different support, and how honest awareness helps us recover without shame. Resilience isn’t perfection—it’s knowing when to stabilize, rebuild, and return.
-
One of the Most Practical Ways I Support My Future Self
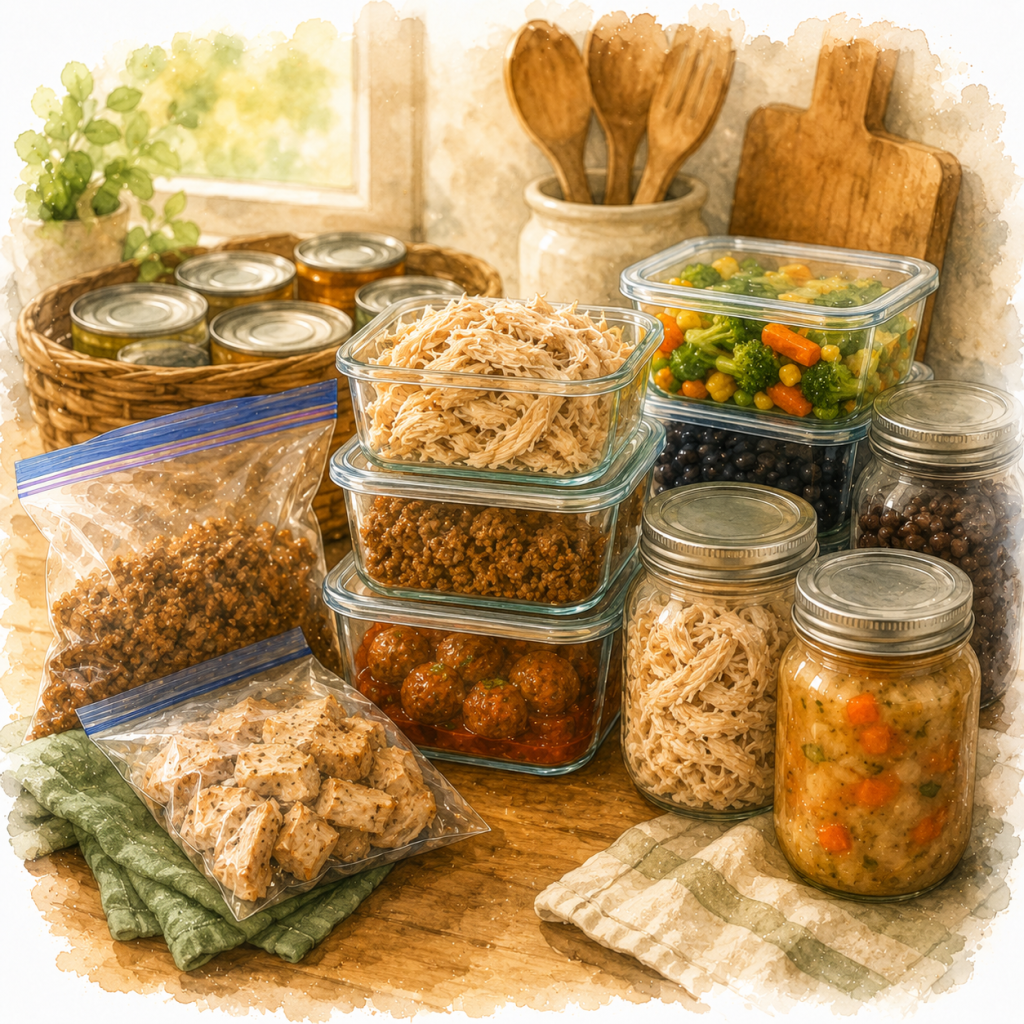
What if meal prep wasn’t about perfection, but support? In this post, I share the concept of Intended Leftovers—foods intentionally purchased, prepared, or stored to reduce friction and make nourishment easier during busy, stressful, or low-capacity seasons. A practical strategy for building resilience, honoring capacity, and supporting your future self.
-

Menu Plan
Snag my menu from: January 18-24, 2026 I follow the Trim Healthy way of eating and cook this way for my family of ten.
-

Menu Plan
Snag my menu from: January 11-17, 2026 I follow the Trim Healthy way of eating and cook this way for my family of ten.
-

Becoming Someone Who Can Stay
If there’s one thing this lifestyle has taught me, it’s this: Health has to withstand real life. Not the curated version. Not the “after things calm down” version. The one with grief, caregiving, diagnosis, marriage repair, nervous system overload, and days where progress looks nothing like transformation
-

A Lifestyle I Can Grow Old With
Before I ever touched a Trim Healthy plan, I believed health had a very specific look. A certain body shape. A certain number on the scale. A result that mattered more than how I got there
-

Why Regulation Matters More Than Control
My body hasn’t always signaled overwhelm the same way. What’s changed just as much as the signals themselves is my awareness of them. Early in my life as a wife and mother, I mostly ignored what my body was trying to say—not because I was resilient, but because I didn’t know how to listen.
-

Staying Fed in a Life of Service
I didn’t realize my needs mattered alongside my family’s until I started missing meals, and paying for it somehow. It seems like that would never happen when I have struggled with disordered eating, but it did. 🦋Not in a dramatic way. 🦋Not intentionally. 🦋Just quietly—between caring for everyone else.
-

Why wanting sweet was never the problem
Sweetness has never been just one thing for me. It has been comfort. It has been safety. It has been joy. And sometimes—quietly—it has been rebellion.
